Here is a little mini-guide that I created for some boulders up in Lefthand Canyon. Please tread lightly and enjoy!
Paradise Boulders – Lefthand Canyon OHV
Main Zone:

Follow Trail 842 up to switchbacks that are parallel with some of the better boulders (Rey’s Rock and Ginger Block). Bushwhack directly over to them. Find a few cairns along the way. The blocks are described roughly uphill to downhill. Problems I thought were worth repeating have a (☆) symbol next to them in the description. See full list below:
☆ Deerpatch Right Center, V0 R
☆ Deerpatch Traverse, V2 R
☆ Best Buds, V4/V5
☆ Monkey Paw, V3
☆ Butterfly Pavilion (full extension), V4
☆ Gingerly Left, V1
☆ Gingerly Right, V1
☆ Catnip Crescent, V3
☆ Wild Bergamot, V2
☆ Mommy’s Little Monster, V3
☆ King of the Hill, V3 R
☆ The Bloomin’ Onion, V3
Deerpatch Boulder

- ☆ V0 R – right center (tall)
- ☆ V2 R – traverse right to left and up arete (tall)
- V0 – sds on backside, left of downclimb
*Potential for a few more lines here*
Best Buds

- V0 – ramp right to left and around corner
- *Middle Roof – project (bad landing)*
- ☆ V4/V5 – middle right – undercling to lh crimp and power over bulge – ‘Best Buds’
- V1 – right side (upside down ladder)
Rey’s Rock


- V0 – left arete
- V0 – left face
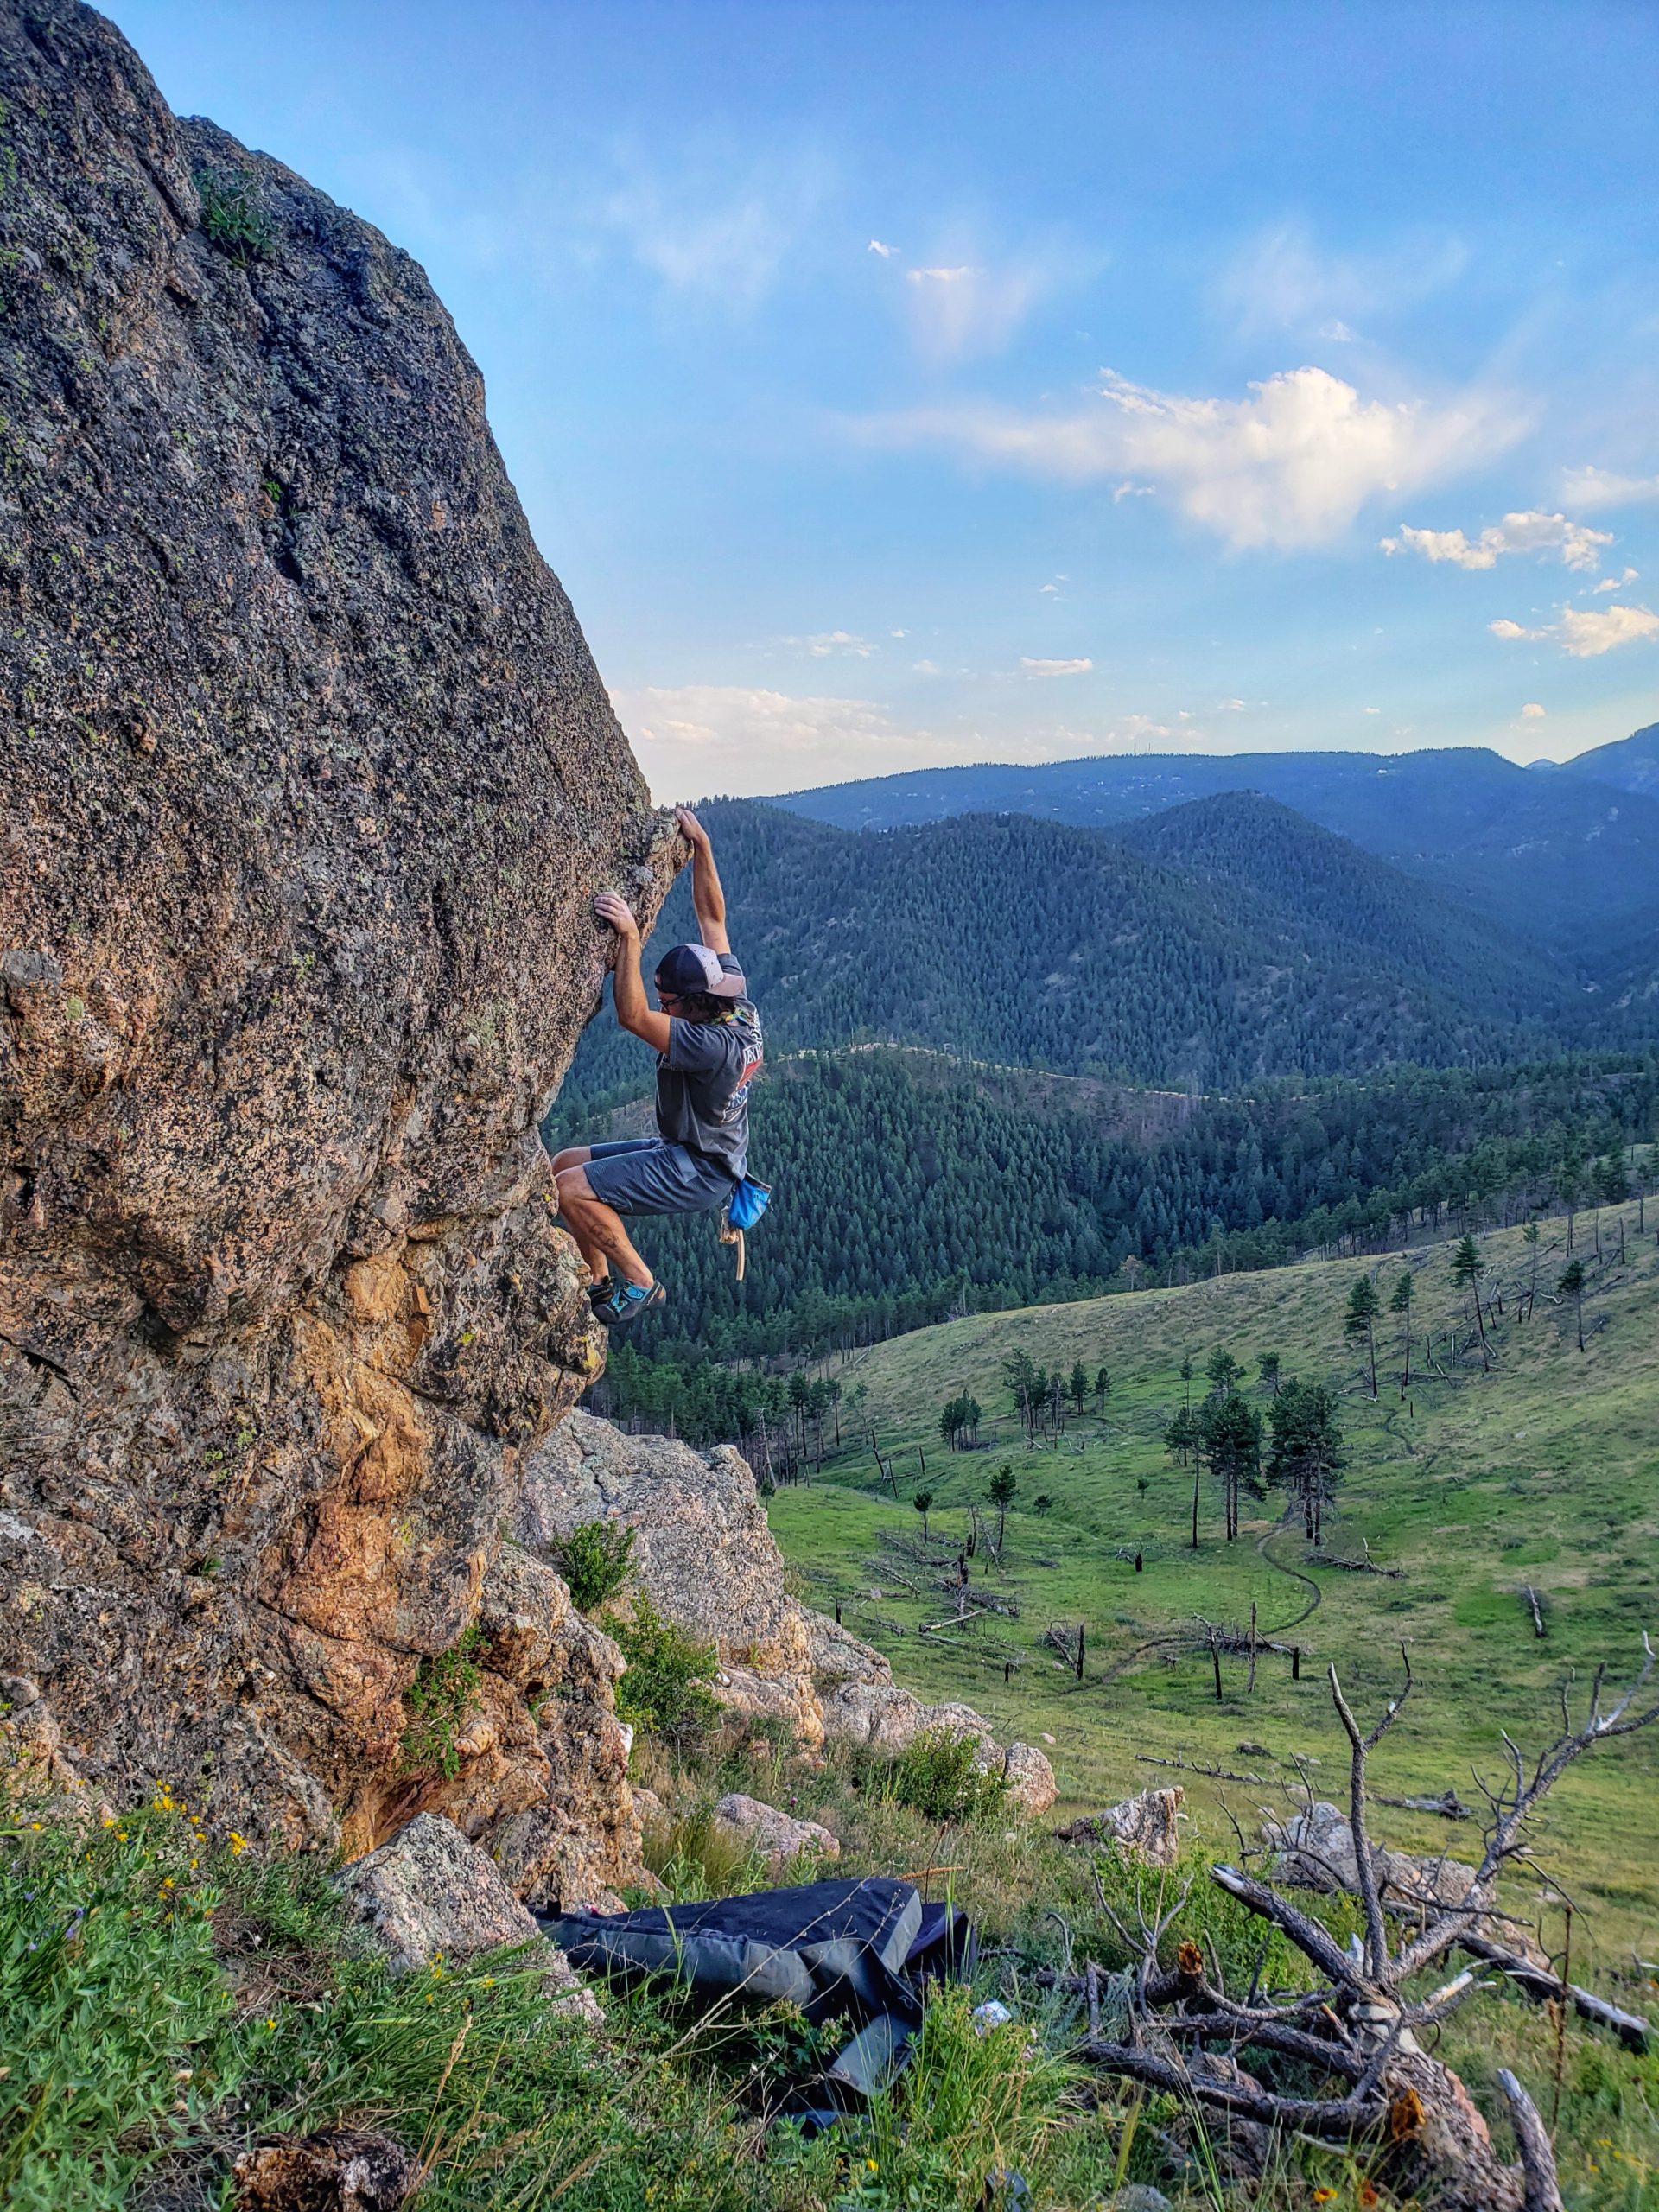
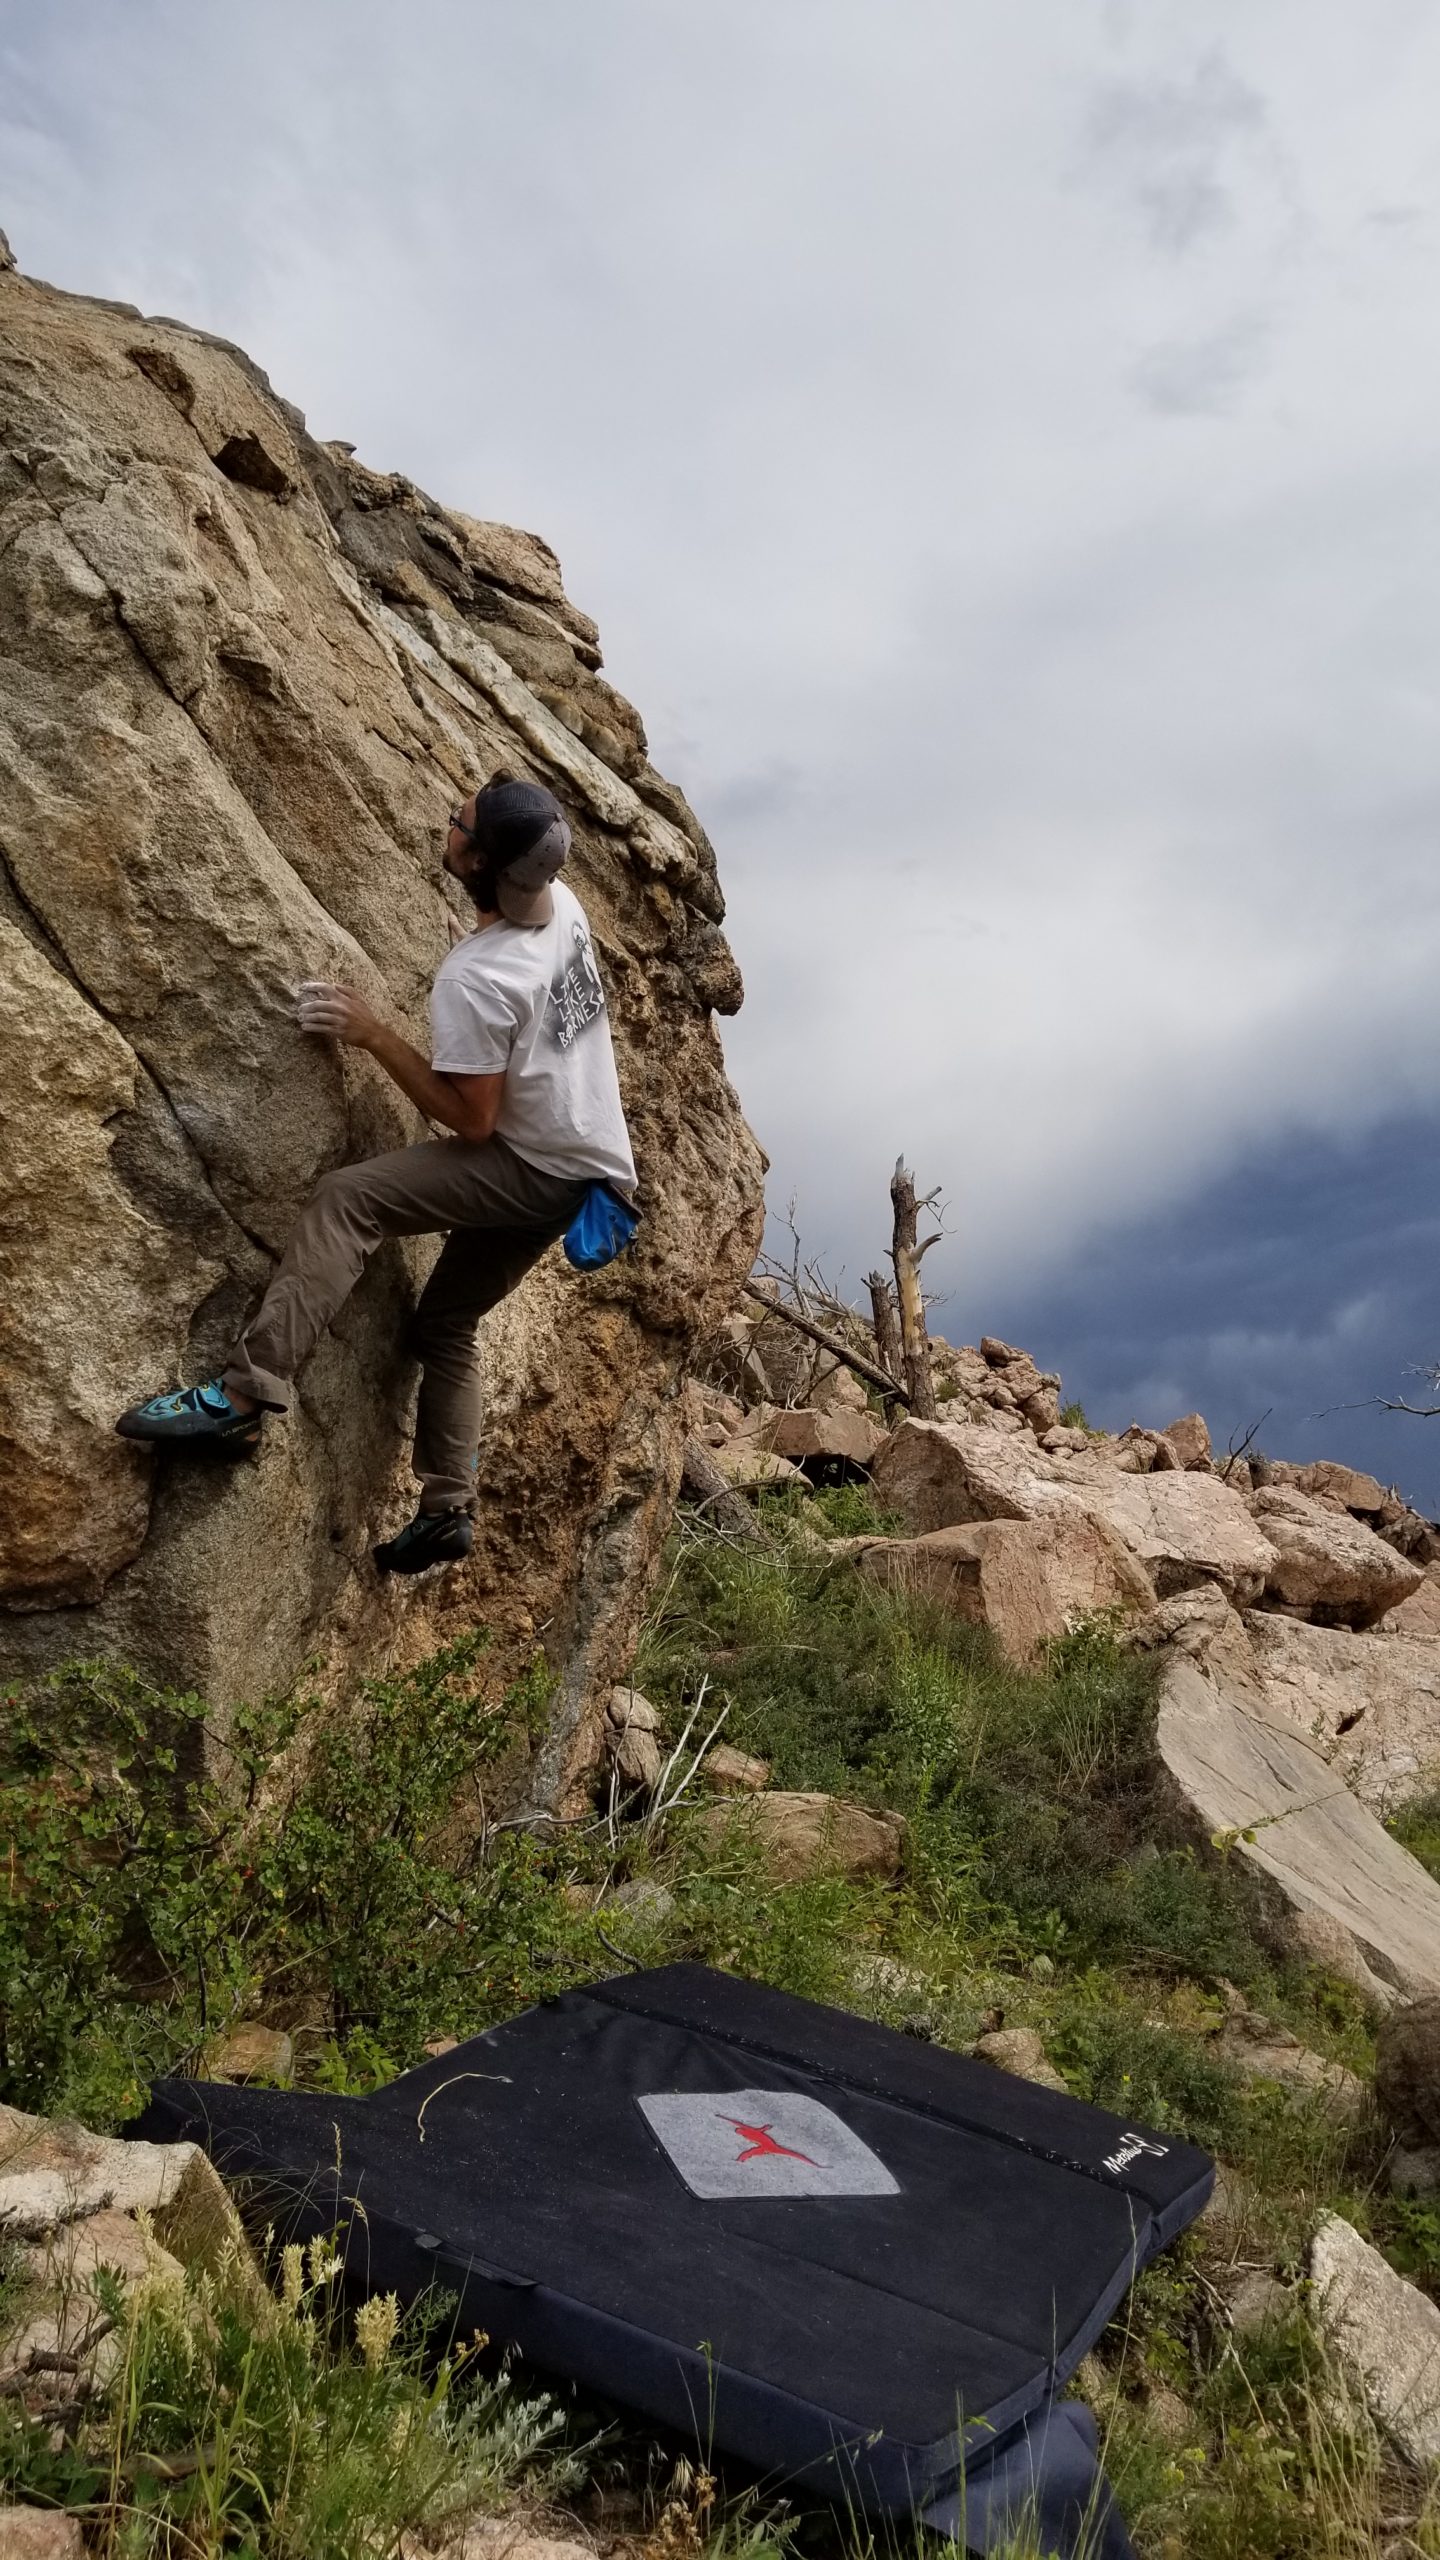
- ☆ V3 – middle slab – ‘Monkey Paw’ (left face holds off)
- V0 – right arete (short)

(Sticking the crux on ‘Monkey Paw’)
Ginger Block

- ☆ V1/V2 traverse – ‘Butterfly Pavilion’ – start on triangle hold and head right and up
- ☆ V3/V4 – low left start and extended finish to ‘Butterfly Pavilion’
- V0 – far left slab
- ☆ V1 – arete left side (‘Gingerly Left’) (tall)
- ☆ V1 – arete right side (‘Gingerly Right’) (tall)
- V1 – straight up problem from triangle hold/easy start of ‘Butterfly Pavilion’

(Gingerly Right)
Slight Slab – home to a few nice V-easy slabs

Forgettable 1 – uphill from Best Buds

- V0 – forgettable face, start low and big move to lip. Then slight traverse left and up
Forgettable 2

- V0 – short and forgettable handcrack (best if you contrive feet and hands to just jams)
Catnip Crescent – nice slab below Ginger Block

- V0 – left side, angle right on a sweet jug
- ☆ V3 – start in the middle on small holds, step right on good feet and mantle up – ‘Catnip Crescent’
Slightlier Slab – V-easy tall slab (photo looking down towards Disappointing Dinkies)

Wild Bergamot – fun short problem, potential for a hard sit start

- ☆ V2 – start on the two good and low holds, slap a few times to the top and mantle with a nice edge
Disappointing Dinkies – downhill boulders that look good but aren’t great
- V0 – prow on uphill boulder
- V0 – poopy crack traverse
Cluster Two:

To get to King of the Hill and Mommy’s Little Monster, head up Trail 842 past the switchbacks leading to the Main Zone. Reach the intersection with Trail 841 and head right towards more rocks. Walk until they are directly above you and hike up the hill. To get to The Love Boat, keep going straight here and you can’t miss it. To get the the Summit Zone, go past The Love Boat until there is another trail on the left. Head straight uphill and eventually a little bit right to reach the climbs.
Choss Nugget
The first block encountered on the left.
- V0 – flake on left side
- 💣 V0 – right side, avoid (choss)
Upper Decker

- V0 R – right side
- V0 R – left side crack
- V0 -traverse
Mommy’s Little Monster

- V1 – dihedral
- ☆ V3 – arete, low start and finish up right side/face – ‘Mommy’s Little Monster’


King of the Hill
- V0 – left side mantle
- ☆ V3 R – arete to jugs, bump up and left to pockets and edges – ‘King of the Hill’
Double Deckers

- V0 – left boulder, left side
- V2/V3 – left boulder, contrived – move right on same start and eliminate good holds.
- V0 – right boulder, left side roof
- V0 – right boulder, right side face/crack

The Love Boat:

- V1 – Traverse the shady (‘Dirty Love’) side of The Love Boat.

- V0 – There are about four easy, but clean and nice, problems on this side of The Love Boat.
Summit Zone:
* There are a couple more V-easy problems in between The Love Boat and The Summit Zone. Choose your on adventure. They’re not that appealing honestly, but I felt compelled to climb them for some reason.
Basically Bishop

- V2 – Traverse from right to left. Not a bad problem. Like most everything else here, not noteworthy either.
- V2 – Do a figure 8 around the rocks. Contrived and dumb.
Thirsty Thoughts

- V3/V4 – Start far right on a jug/sidepull. Traverse left around a bulge on crimps and bump to a jug on the arete. Keep your feet on the main boulder. More fun than aesthetic.
- V1 R – ‘Thirsty Thoughts’ – Climb a nice arete to a ledge. Then scramble up to the top following a beautiful layback/finger crack.
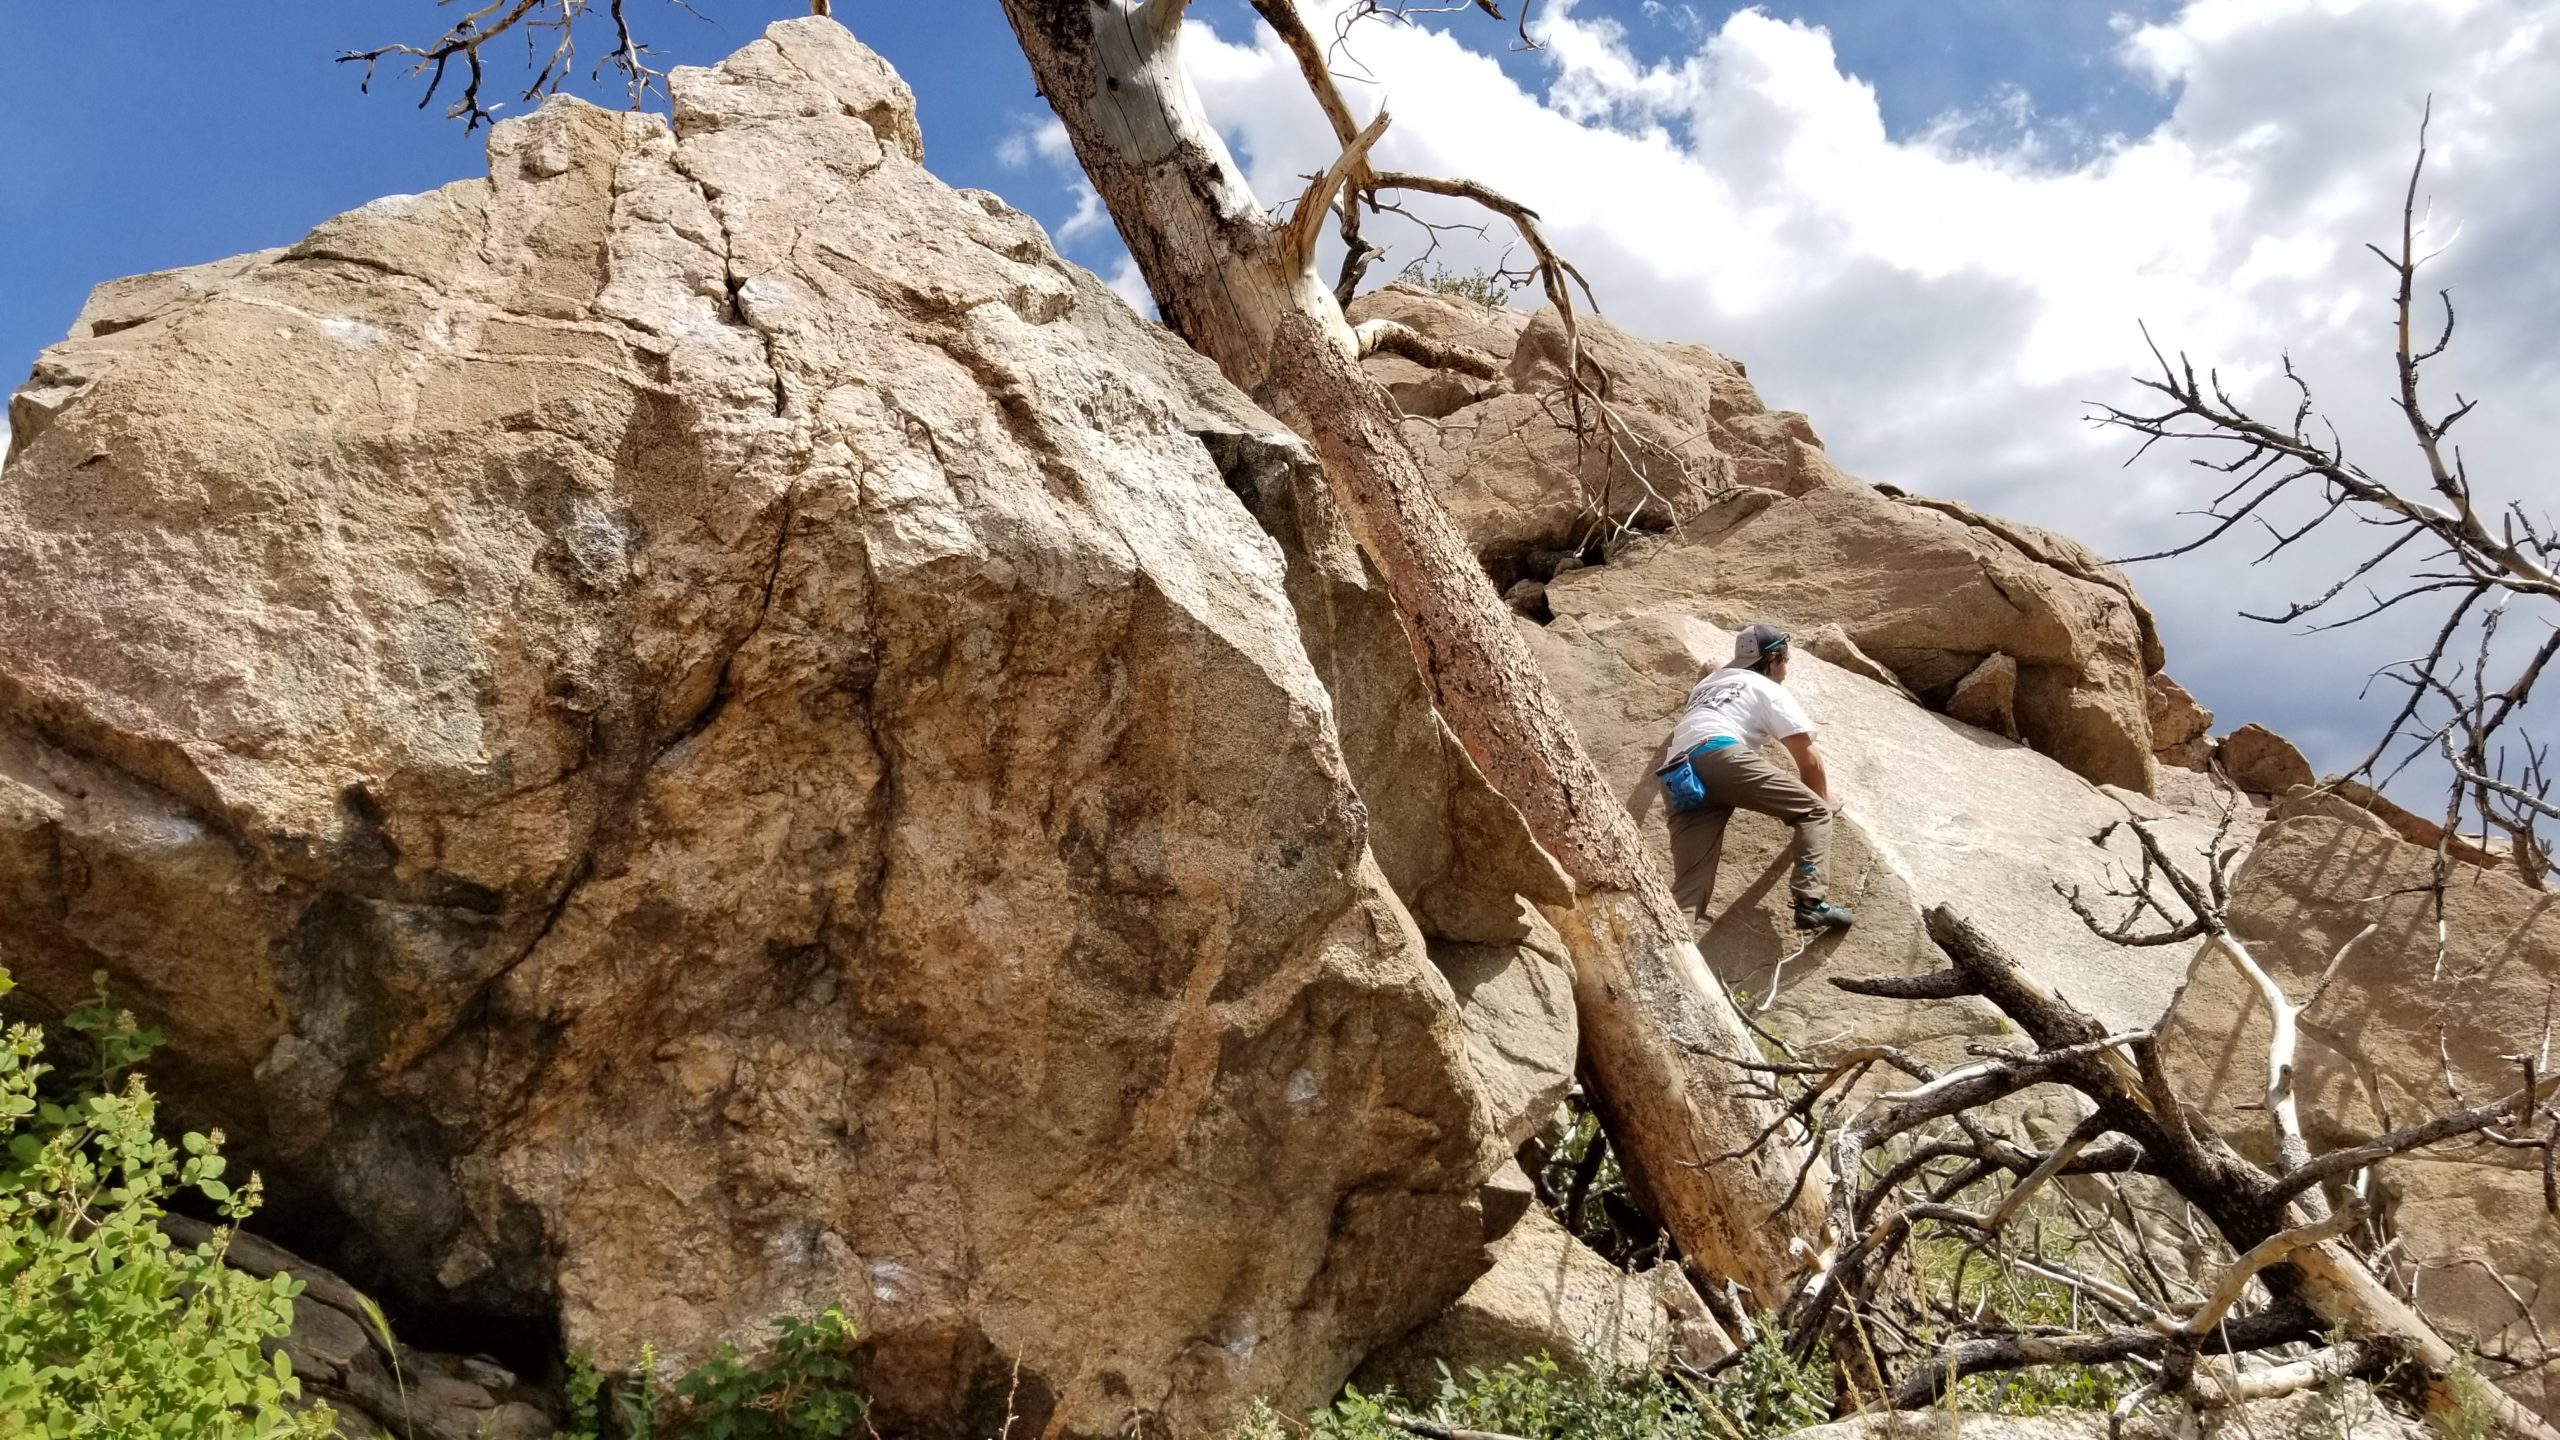
The Bloomin’ Onion
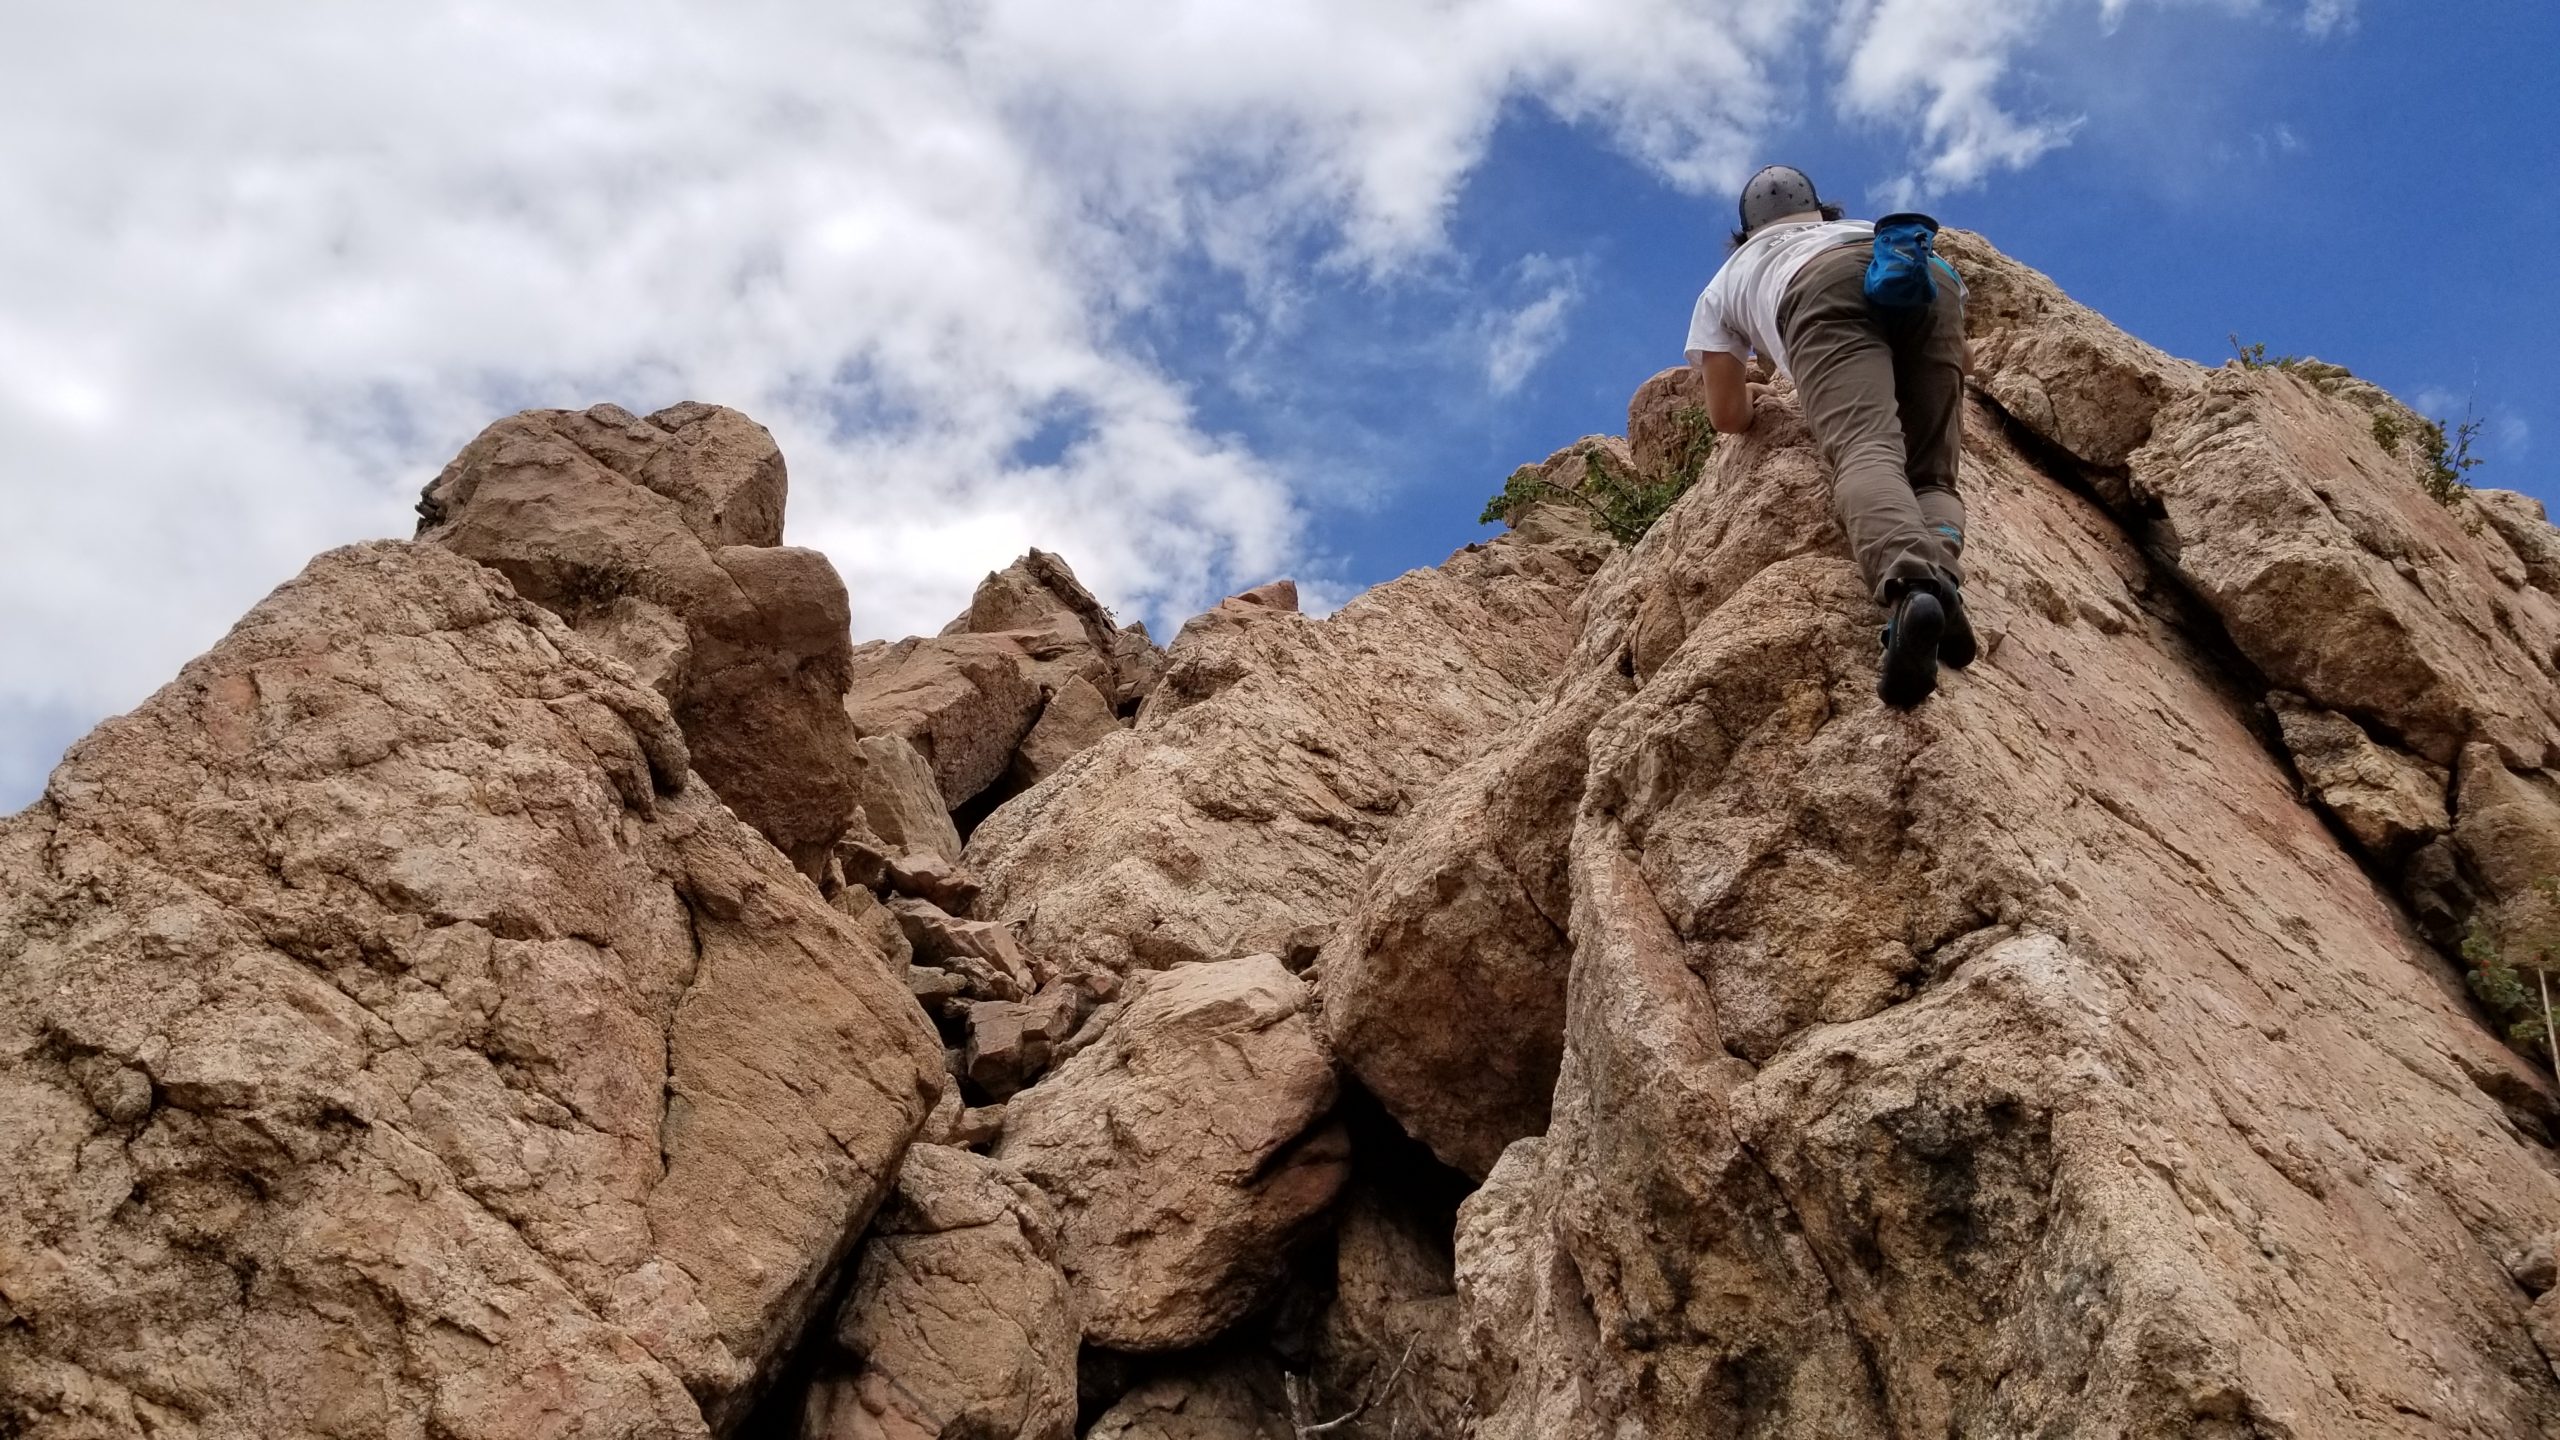
- V2 – Climb the far left arete/face to a nice top out. Funky landing. Be careful, you also have to stand on a hollow flake to climb this problem.
- ☆ V3 – Climb the right side of the arete (in the photo above). Bump right along good holds. Awkward body positions and fun climbing – ‘The Bloomin’ Onion’
- V2 – Climb the far right arete, to the right of the previous problem. Another fun jug pull
- V0 – Downclimb the slab on the backside
- V0 R – Just uphill from the The Bloomin’ Onion is another short solo/highball that is a chossy arete. Not bad for more mileage. Not necessarily recommended though.
There are likely more problems that I missed as well as many more boulders to find. Feel free to send me beta on new problems and I’ll add them to the guide! Thanks for visiting my site. Always be a good steward!